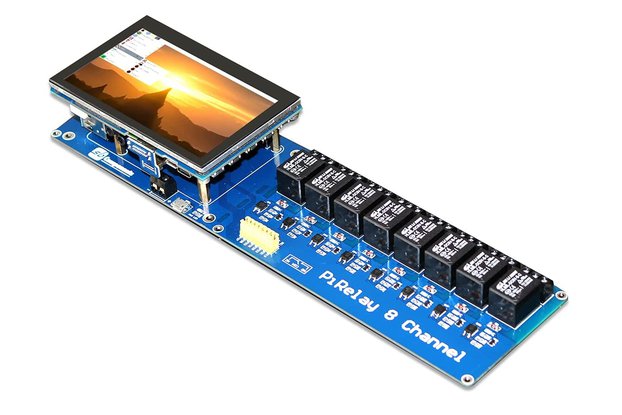
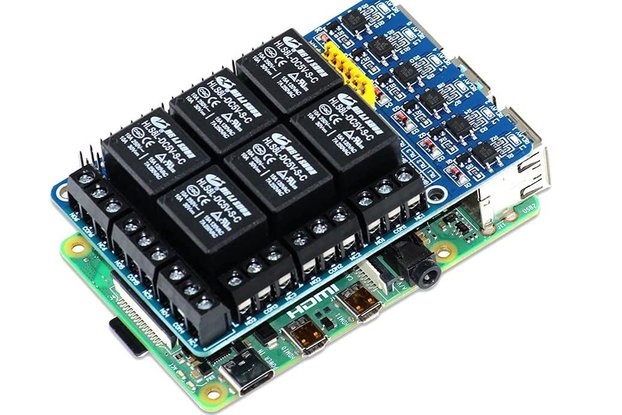
Raspberry Pi 4-Channel Relay HAT, smart programmable GPIO expansion board, stackable relay module for DIY and home automation
Designed by YIHANG in China
Buy with confidence.
Our Tindie Guarantee protects your purchase from fraud. Learn More
What is it? This is a 4-channel Relay HAT designed for Raspberry Pi, also called "Relay DDL" (short for relay stack). It allows low-voltage signals from Raspberry Pi to safely control high-voltage …
Read More…This is a 4-channel Relay HAT designed for Raspberry Pi, also called "Relay DDL" (short for relay stack). It allows low-voltage signals from Raspberry Pi to safely control high-voltage devices, making it one of the most affordable and secure ways to build DIY smart home hardware. It connects directly to Raspberry Pi via GPIO and I2C, supports plug-and-play installation, and can be stacked up to 4 layers (16 relays).
We wanted to provide makers and developers with a simple, safe, and cost-effective way to control home appliances and electronic devices using Raspberry Pi.
From fans, fish tanks, classroom lighting, to laser toys for pets, this relay board makes automation projects easier and more creative.
By combining with cloud platforms like Tencent Cloud, Alibaba Cloud, or GIZWITS, users can even build IoT solutions directly at home.
To get started, install the Raspbian system on your Raspberry Pi, connect it to the network, and enable SSH service using: sudo raspi-config
Then check the device base address with:
i2cdetect -y 1
Normally, the address will be 0x10
.
If the command is missing, install i2c-tools with:
sudo apt-get update sudo apt-get -y install i2c-tools
Once ready, you can control the relay directly from the command line. For example, to turn on the first relay: i2cset -y 1 0x10 0x01 0xff
-y 1
→ defines i2c bus (bus 1)0x10
→ base address of the relay board0x01
→ the first relay (0x02 = 2nd, 0x03 = 3rd, 0x04 = 4th)0xff
→ turn relay ON (0x00
= OFF)You can also write a shell script, make it executable, and run it:
chmod +x relay.sh ./relay.sh
The Relay HAT supports multiple programming languages. For example, in C:
gcc relay.c -lwiringPi -o relay ./relay
Or in Python (install smbus2 first): sudo pip3 install smbus2 Then:
chmod +x relay.py ./relay.py
With these methods, you can easily integrate the relay board with sensors and automation tasks—for example, turning on a fan when the temperature exceeds 25°C.
No country selected, please select your country to see shipping options.
No rates are available for shipping to .
Enter your email address if you'd like to be notified when Raspberry Pi 4-Channel Relay HAT, Stackable can be shipped to you:
Thanks! We'll let you know when the seller adds shipping rates for your country.
Shipping Rate | Tracked | Ships From | First Item | Additional Items |
---|---|---|---|---|
:
|
Buy with confidence.
Our Tindie Guarantee protects your purchase from fraud. Learn More
$19.99
Free Shipping!
$53.85
Free Shipping!
$78.88
Free Shipping!
$29.99
Free Shipping!
$89.99
Free Shipping!
$65.99
Free Shipping!
$45.99
Free Shipping!
$49.88
Free Shipping!
$48.99
Free Shipping!
$31.99
Free Shipping!
$26.99
Free Shipping!
$14.99
Free Shipping!
By clicking Register, you confirm that you accept our Terms & Conditions
We recognize our top users by making them a Tindarian. Tindarians have access to secret & unreleased features.
We look for the most active & best members of the Tindie community, and invite them to join. There isn't a selection process or form to fill out. The only way to become a Tindarian is by being a nice & active member of the Tindie community!