What is it?
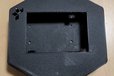
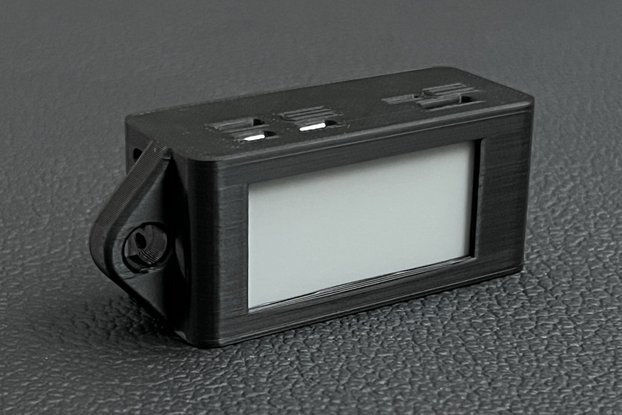
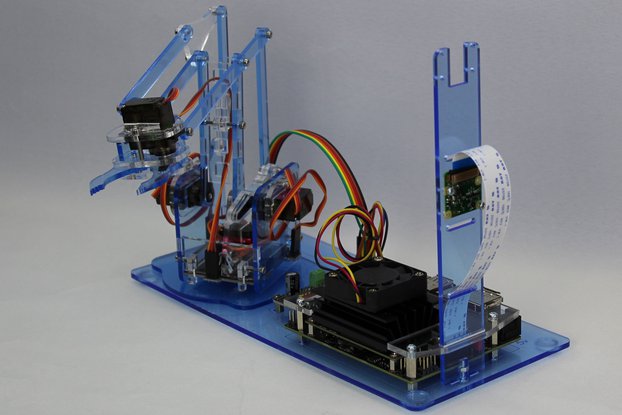
This is a case for the HestiaPi thermostat (or your own Raspberry Pi project). It holds the HestiaPi screen in place and looks much nicer than just bolting a raspberry pi to the wall!
Why…
This is a case for the HestiaPi thermostat (or your own Raspberry Pi project). It holds the HestiaPi screen in place and looks much nicer than just bolting a raspberry pi to the wall!
Why did you make it?
It is intended for someone who is building their own thermostat but doesn't want, or isn't able to, get the parts for a case. This may be a lack of access to a 3D printer, or the problem of most PCB shops having a minimum order of 5 boards and not wanting to built 5 thermostats.
The case could potentially be used for other raspberry pi based projects, but the tricky part would be getting the pins from the pi to the screen and making sure the screen is in the perfect location. The 3D-printed cases hold the screen in place, which helps with the latter problem, but there's nothing holding the screen to the case with the PCB cases.
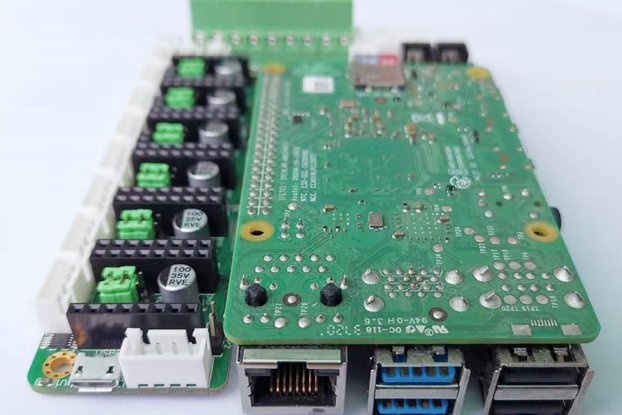
If you were to try to use this case for another project, the best option would be to get the HestiaPi circuit board and then just solder together the Pi, PCB, and extra long header pins for the LCD. Then simply leave the remaining components (like the terminal posts to interface with the HVAC system) unpopulated. Of course, if you want to use a temperature sensor or have a reset button, those are there if you'd like to use them.
What makes it special?
They look fabulous! Also, if you are trying to convince friends and family to go with an open source thermostat instead of some corporate monstrosity, having something that looks nice can really help your case (pun intended).
3D-Printed
The 3D printed ones are currently available in the colors that my local Makerspace has spools of material for. I only stock black and white, but if you want some other color, send me a message and I'll see what I can do.
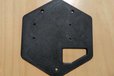
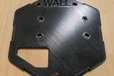
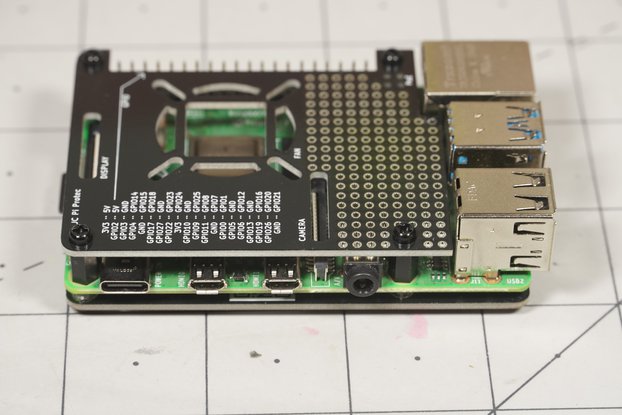
This design include tabs to hold the LCD in place, making it a bit more flexible for non-HestiPi projects. The wall plate will hold M2.5 nuts in place so you can mount your pi to the board without having to worry about the case not sitting flush with the wall.
By clicking Register, you confirm that you accept our Terms & Conditions
What is a Tindarian?
We recognize our top users by making them a Tindarian. Tindarians have access to secret & unreleased features.
How does one become a Tindarian?
We look for the most active & best members of the Tindie community, and invite them to join. There isn't a selection process or form to fill out. The only way to become a Tindarian is by being a nice & active member of the Tindie community!
/i/697204/products/2023-05-23T17%3A20%3A15.124Z-black-3d-printed-case.jpg?1684837363)